Brother ScanNCut was a very generous sponsor for Ljudmila’s PIF Hacker Camp by sending two ScanNCut machines for our use!
While at Ljudmila I began by testing the machine with a simple LED circuit. Using a black sharpie I drew the positive and negative conductive traces, scanned this image into the machine, and after the U-shaped piece was cut I sniped it apart into two pieces that will act as the positive and negative traces. For a detailed post on how to DIY please see my 2 August 2015 post Making Circuit Samples with Brother ScanNCut.
My samples were done with non-woven conductive fabric from Statex, 5mm blue LED, 3V coin cell battery.

Once the U Shape is snipped into two pieces with a scissor I can place them against the positive and negative terminal ends of a coin cell battery and place the corresponding LED terminal ends to the positive and negative traces.


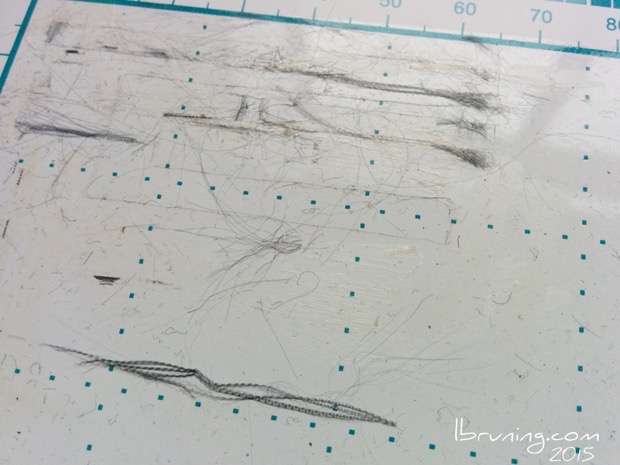
Testing one of the woven conductive fabrics from Statex shows that the thread edges fray causing loosing threads which will cause short circuits in the eTextile traces. The woven conductive fabrics are best cut with a laser cutter so that the heat of the beam will help seal the fabric edges.

You can also see how the woven fabrics unravel when they are removed from the cut sheet.

More non-woven conductive fabric circuits.

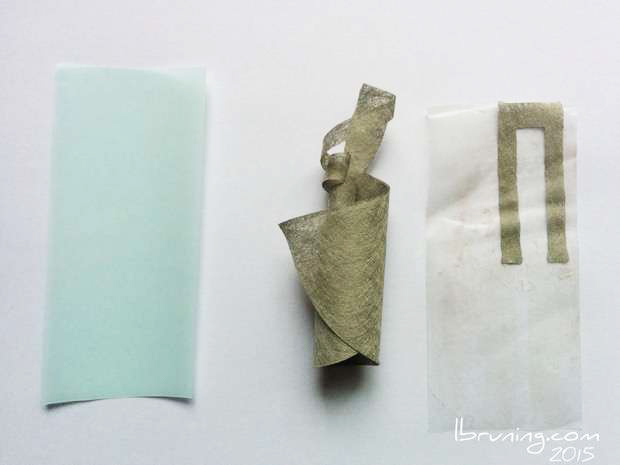
Brother provides a High Tack Adhesive Support Sheet which is is a sticky contact paper to be applied to the fabric and will help hold it flat while going thru the cutter. I found this product to make the remaining fabric curl and become unusable for further purposes. I think 3M Repositionable Spray Adhesive is a better solution.


